Everyone loves cake pops! They recently made their debut last year and now they are popping up in Starbucks, birthday parties, baby showers....basically everywhere. But honestly, who has the time to bake a cake just to make cake pops? I don't. Well I could probably squeeze it in, but there are a million other things I'd rather do than clean up a kitchen after baking a cake. So here is a Cake Pops for Dummies tutorial. Super easy, super affordable and SUPER DELICIOUS!!
What you need:
*cookie sticks
*donut holes
*mini baking cups
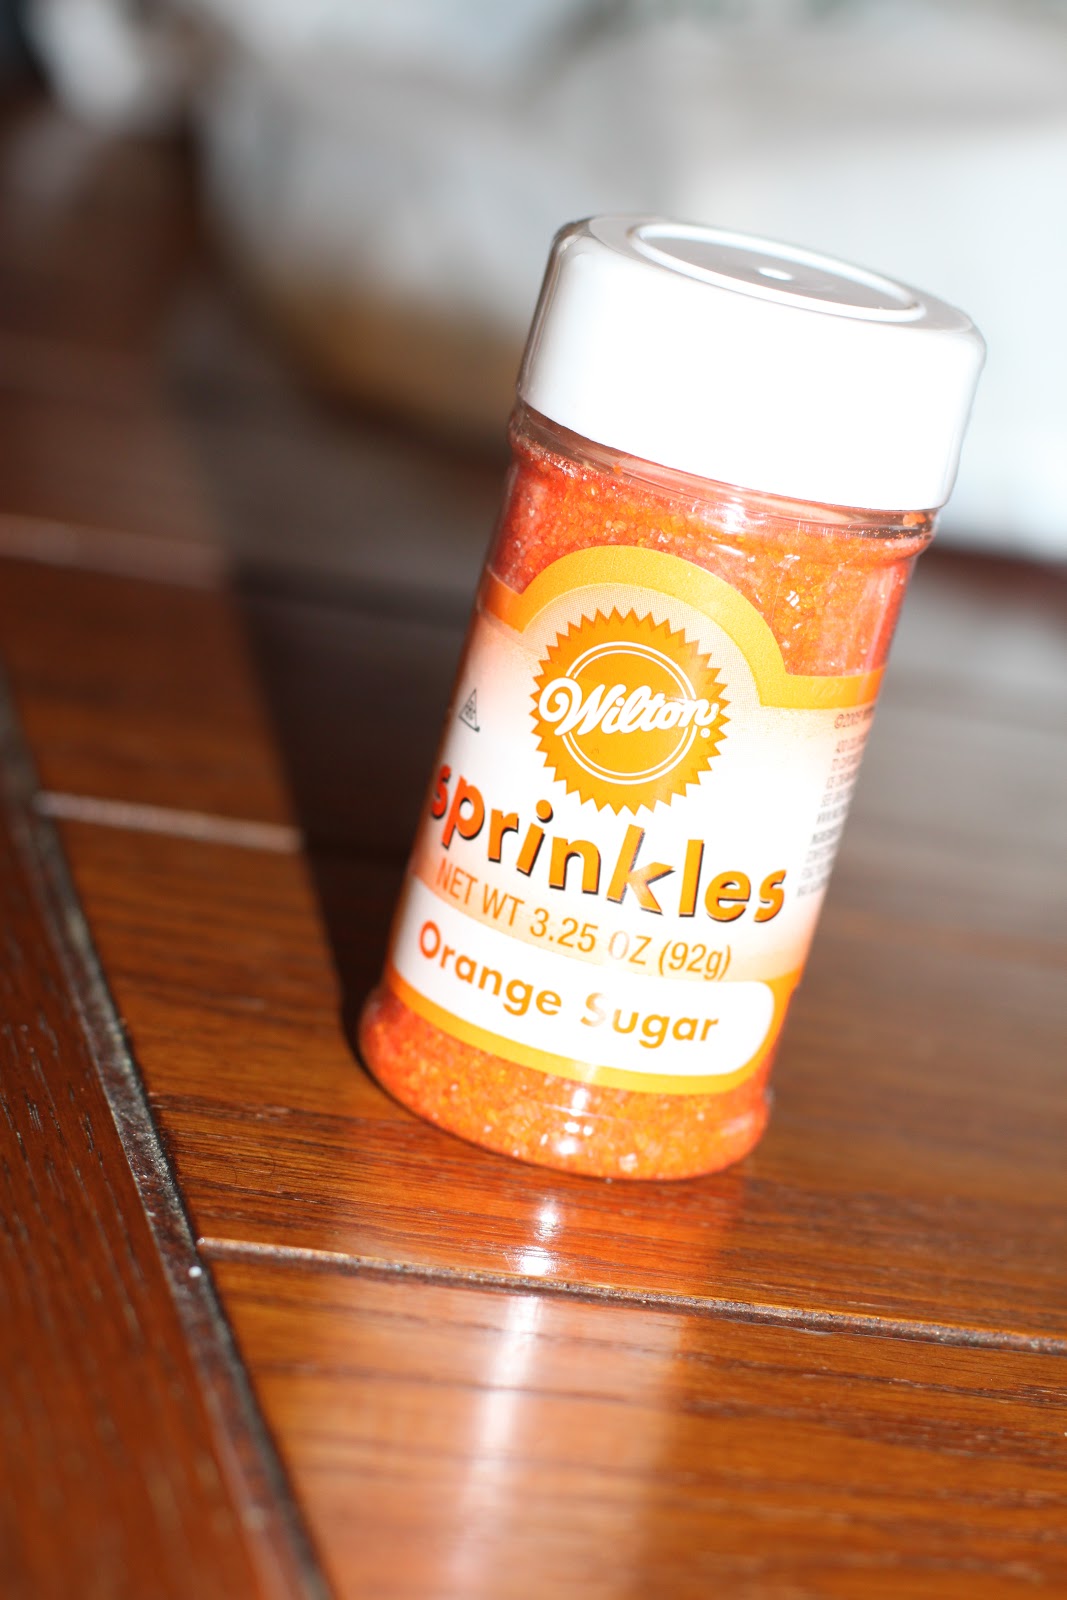
*sprinkles
*chocolate or candy melts
*a teaspoon of Crisco


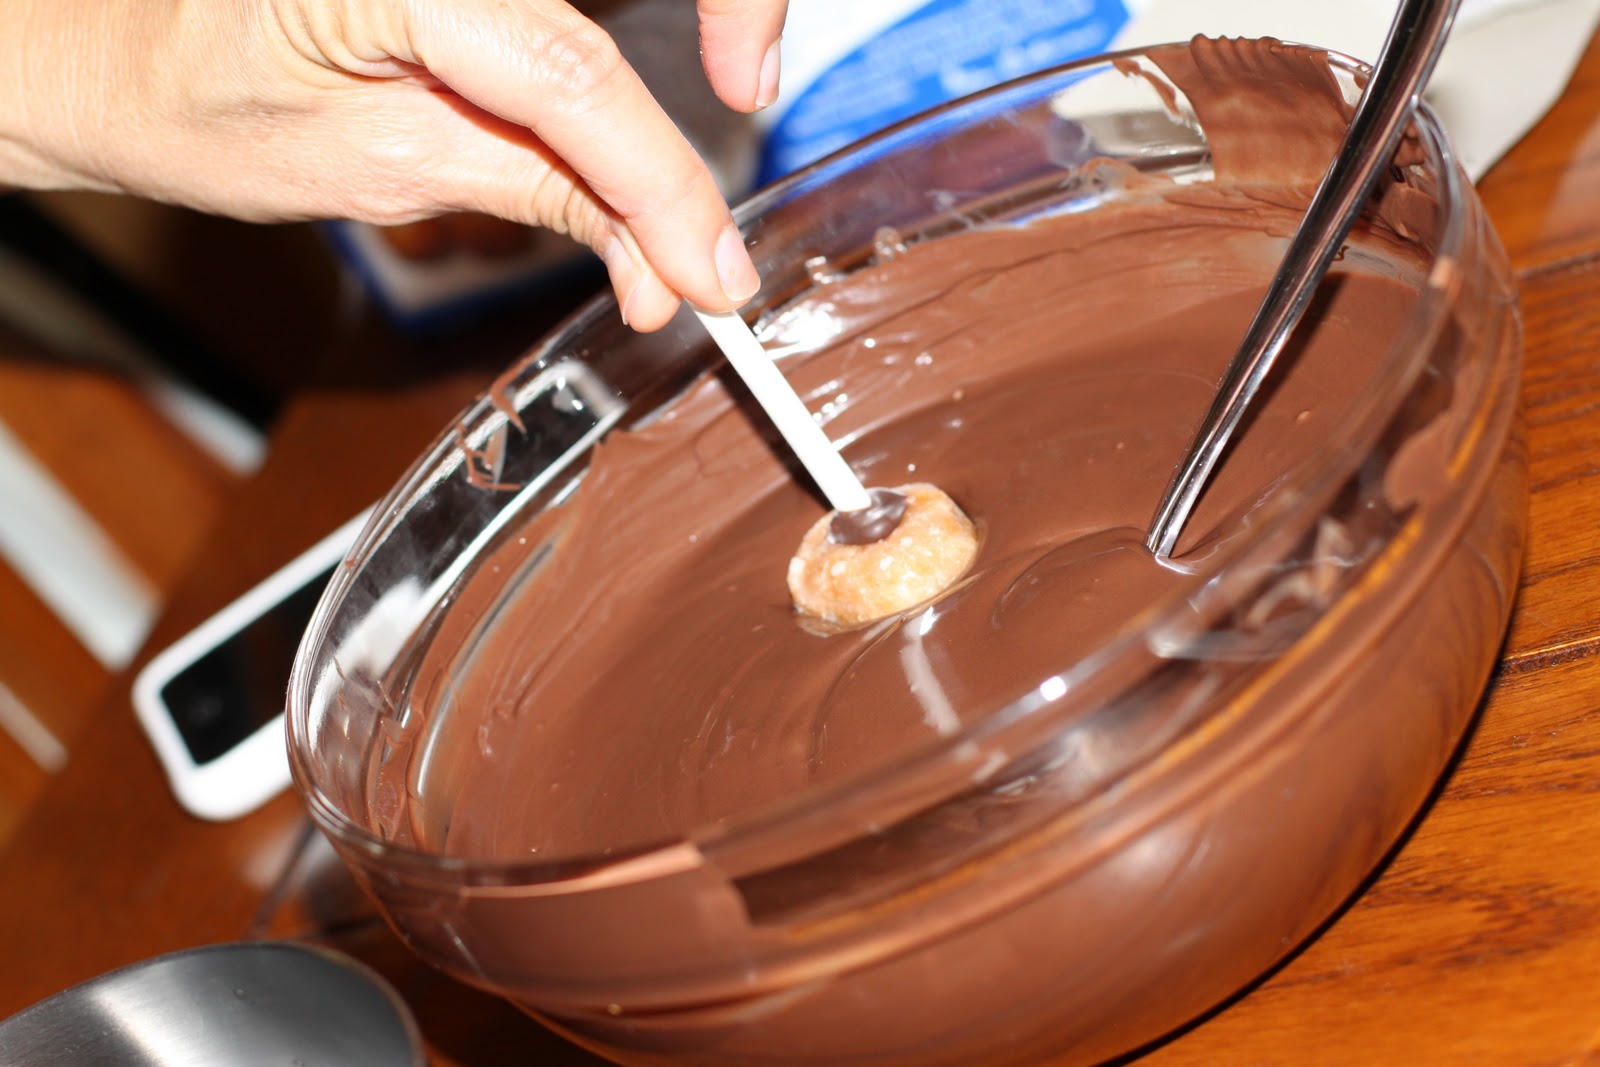
Melt the chocolate/candy melts {30 seconds at a time in the microwave}. Add a teaspoon of Crisco when it's melted and stir well. Take a cookie stick and poke a hole in the donut. Dip the stick in the chocolate then put it in the donut. Put the donuts in the fridge for 5-10 minutes so that the chocolate can harden, this will ensure that the stick will stay in the donut.

Reheat the chocolate. Dip each donut in the chocolate, shake the stick a little so the excess chocolate drips off the donut.

Sprinkle the sprinkles on the donuts!

Place in a baking cup.

All done! Don't put these in the fridge, I've heard it will cause the chocolate and sprinkles to bleed into each other.
EAT UP!!!


